Monday, March 28, 2011

Creme Egg Cupcakes

So there is no line-up for this recipe because I wasn't quite sure where I was going with it...I did have a little bit of a plan in mind but not 100% sure.

I started by making my ultimate favorite chocolate cupcake recipe that was passed down from my G-ma!  It is on the very first page of my recipe book...although I have made it so many times I could probably do it from recall!
 (the amounts are written at the bottom)...

Cream together your marg and sugar, and then add the cocoa.

Apparently I skipped pictures for a few steps...they are easy though so you don't really need a picture...well it is all easy but I like the pics!  Okay back to business...
add your boiling water and mix...add your flour and mix.  Make your sour milk and add it...it will look odd for a bit but just keep mixing and it will become a perfect chocolate batter!

Add your baking soda and mix.  Then add your eggs & vanilla and mix. 
 PERFECT!!!  This is where I usually stop for cupcake batter...

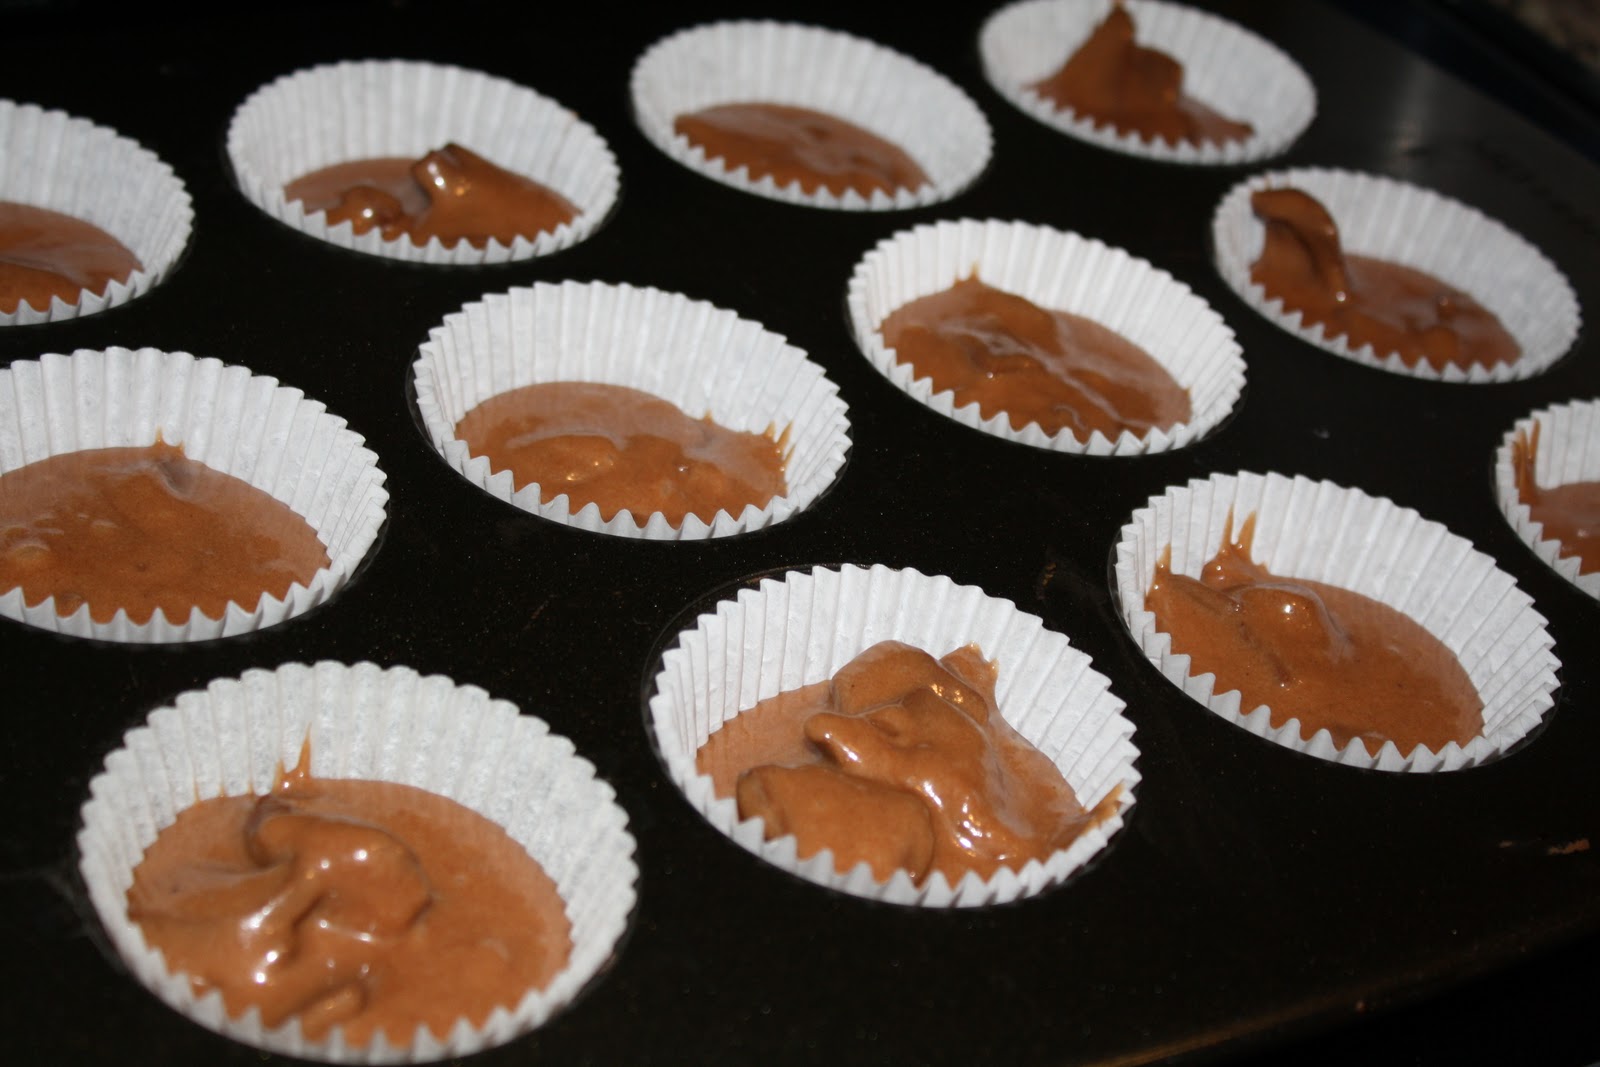
but  NOT today! I added a broken up chocolate easter bunny!

RANDOM SIDE NOTE: I found a pack of 500 white cupcake liners at the Great Canadian Wholesale for $2.99!!!! I was crazy pumped!  They also had a pan that would bake 24 cupcakes at once...I might have to make a trip back for it!

Back on track...ready to go into the 350 degree oven.

18 minutes later :)

Now onto the icing...I made butter icing according to the back of the icing sugar package.

Cut open a bags worth of mini creme eggs

Scooped out their insides


 Added it to the icing

and mixed...yummy!!!

Ice your cupcakes and add some of the "egg shell" to the top!  I am so happy with how these turned out!


Chocolate Cupcake Recipe
-2/3 cup marg
-2 cups sugar
-1/4 cup cocoa
-1 cup boiling water
-2 cups flour
-1/2 cup sour milk (just add a splash of vinegar to milk)
-3/4 tsp baking soda
-2 slightly beaten eggs
-2 tsp vanilla

Bake at 350 for 18-20 minutes

Sunday, March 27, 2011

Snail Mail Monday - #4

For this week's snail mail monday I decided to pick a friend of mine who just moved into a new house...and I am on a wrap-around address label kick so it worked out perfectly!

I whipped up some labels (they are about 5"x1"...just incase you were wondering!), and managed to fit 14 of them to a page!  Then I printed them out onto sticker paper (known to some as full page label paper)

Then I cut them up, and put them in this perfect little tin!  I ordered a ton of these tins awhile back and I am so glad I did...I never seem to have enough packaging items!

I hope that she likes them as much as I do!
And as promised a picture of what they look like once they are on the envelope!

 Look familiar??? hahaha, I am loving the bakers twine too...the only problem is now I think that I need every colour!

I can't believe there has been a month of snail mail mondays already!!! Time sure flies :)

Saturday, March 26, 2011

Millionaire Squares

These crazy yummy squares have been a part of my life for the last couple of years...and I can't get enough!  I have yet to meet someone who does not like them, and the good news is since the recipe only uses half a tin of condensed milk, you have to make at least two batches!

Here is the line-up...it is divided by layer.

Start by mixing the margarine and sugar, and then mix in the flour.

Press into a greased 9x9 pan and poke some fork holes!  Bake at 350 for about 20 minutes.

Once you take the crust out of the oven throw it into the fridge to cool and get started on the middle layer.  Add all 4 of the middle layer ingredients into a saucepan and bring to a boil on medium heat for about 5 minutes.  Make sure that as soon as it is close to a boil that you are stirring constantly.

Pour onto your crust and return to the fridge.

Once your middle layer has set you can get started on the top layer.  Put the chocolate and marg in a microwave safe container and zap in 30 second intervals, taking it out between each to stir.  

Mine only took one minute total to melt into this beautiful chocolaty goodness!

Pour it on top...

and shake shake shake your chocolate is completely spread out and smooth!

Return it to the fridge for about 30 minutes.  As soon as the "shine" is completely gone it is ready to cut!

Run your knife around the edge and pop it out onto your cutting board.  If you do not want to cut them right away you can leave them in the pan but make sure that you score the chocolate where you plan on cutting it so that when you are ready to cut it doesn't crack.

Perfection!

Millionaire Squares
Bottom Layer
-1/2 cup margarine
-1/4 cup white sugar
-1 1/4 cup flour

Middle Layer
-1/2 cup margarine
-1/2 cup brown sugar
-2 tbsp corn syrup
-1/2 cup condensed milk

Top Layer
-4 squares semi-sweet chocolate
-2tbsp margarine

Monday, March 21, 2011

SO fun!!!

So I have a ton of things to blog about...the reason I picked this one for tonight is because I just finished them and I am loving them!!!

I designed these wrap around address labels for someone's wedding...


This picture does not really show how fun the "wrap around" part of them is but I will have a post on that soon!

Sunday, March 20, 2011

Snail Mail Monday - #3

Okay so a super easy idea for today...my husband is home from work right now so I seem to have less spare time!

All you need to do ahead of time is pick of a pack of pop rocks...I mean who doesn't love pop rocks!
When you are ready to put it all together (by "all" I mean the label and the pack hahaha), just print the label...cut it out...

and tape it on! I love it!

These fit PERFECTLY into a little card!  Write your person a little note and send it off, sure to make someone's day!

Here is the label for you.  All you have to do is double click it - then right click it - save as picture.  Make sure that you put it into a word document to print it out or you will end up with a full page label!

Has anyone else sent a snail mail monday?  I would LOVE to hear about it!

Thursday, March 17, 2011

sneak peak

Just a little sneak peak at a project that I started tonight...can't wait to show you all the final product...hopefully it won't be too long!

Tuesday, March 15, 2011

Leprechaun Lights!

My boys LOVE playing with glow-sticks in the tub...so much fun! So I thought why not share the idea with a few of their little friends for St.Patricks day!

Here is what you need...labels, a little st.pattys day bling, and the glow sticks ($1.50 at michaels, you can't go wrong!)

While I was getting the stuff cut out there ended up being little glitter shamrocks EVERYWHERE!!!

After you cut out the labels tape them on (you could attach them with ribbon but I was out of white cardstock so this was my best option!)

Then just wrap the wire around and tape at both ends...ca-ute!!!


Here is the tag if you would like to use it.  Just double click it, then right click it, and save picture as!!!

Lucky Leprechaun Cupcakes

This morning I saw some green velvet cupcakes over at picky palate and just knew that I had to try them!

I followed her recipe but used vanilla yogurt instead of plain, just because that's what I had...
Here is the line-up...

I am not a big fan of "boxed" cakes but thought that I would give it a go anyways.  I started by mixing the dry ingredients (cake mix & pudding)

Then I added every other ingredient and mixed!

I added a little more food colouring at the end because I wanted them to be greener!

ahhh, thats better!

the batter in the adorable little polka dot liners

mmmmm...

be-oo-ti-ful!

{I did not include the recipe and steps for the icing because I just used my go-to cream cheese icing and I have already blogged about it...probably more than once! hahaha }
Related Posts Plugin for WordPress, Blogger...